Today, Andy King brings us the second part in his two-part build guide of ICM's recent 1/48th scale O-2A (late production) USAF Skymaster. He shows us his process from primer to base coat, decal to weathering & finish in the second half of his review...
Build review part I: O-2A (late production) USAF observation aircraft.
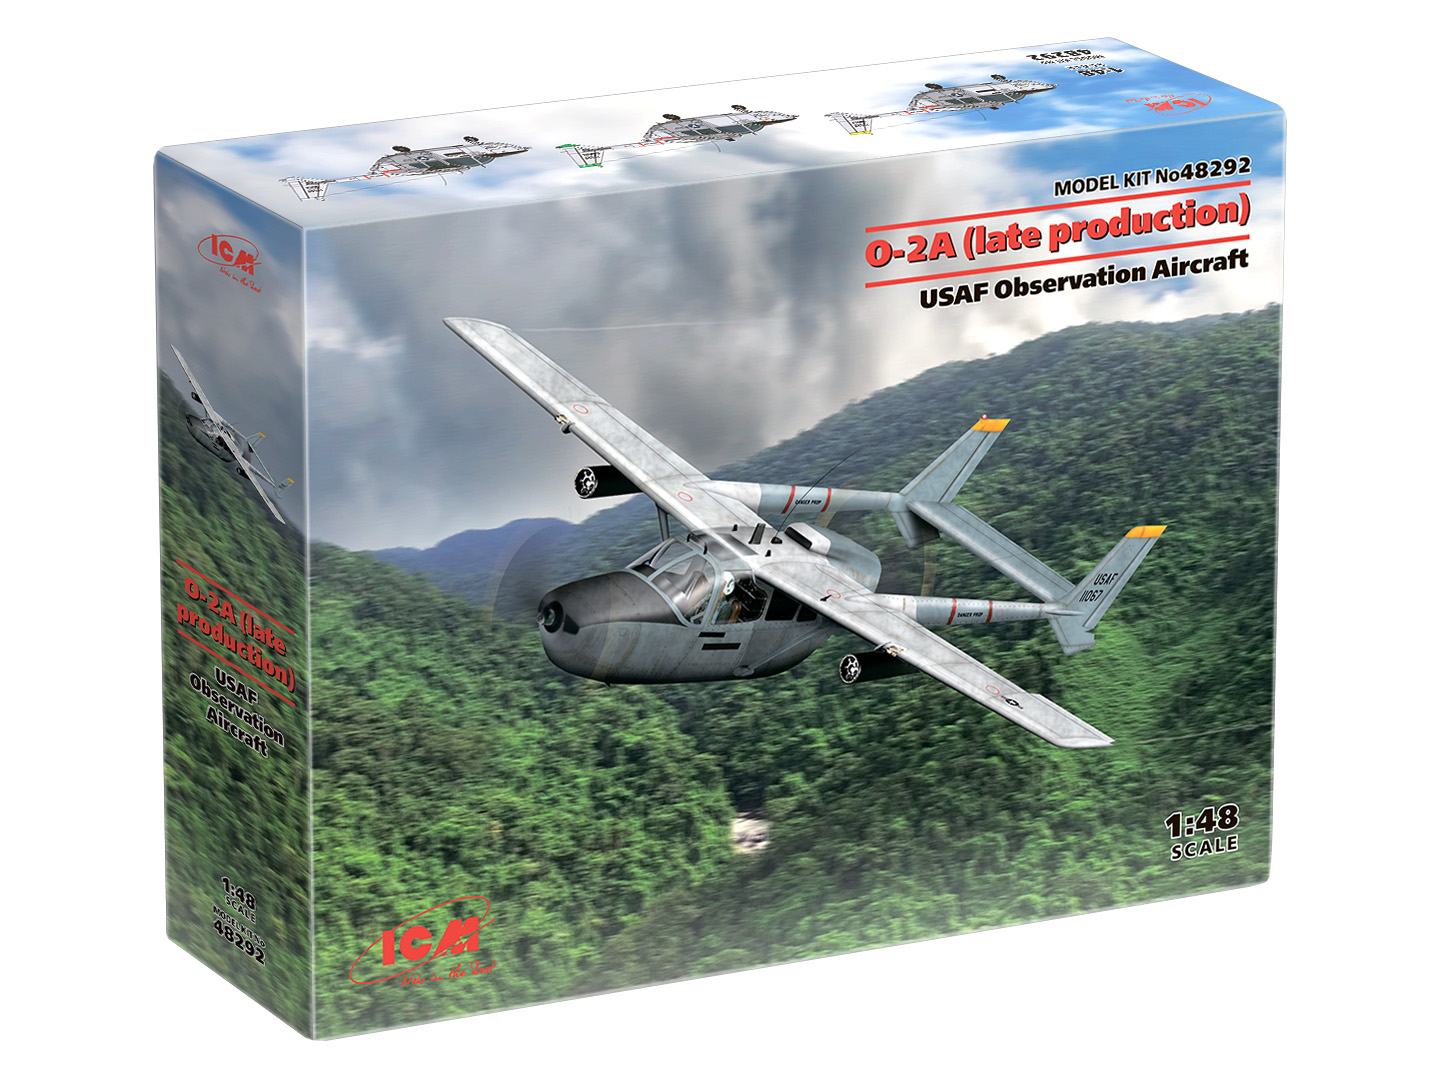
From ICM Models
Kit number #482921/48th scale
196 parts
Model Dimensions: 185mm х 242 mm
Markings:
-U.S. Air Force s/n 68-11067, Forward Air Control, Laos, 1970
-U.S. Air Force s/n 68-10999, Fit Lt D Robson (RAAF), 19th TAAS USAF, Vung Tau, Vietnam, 1969
-U.S. Air Force s/n 68-11013
Previous part of this story:
Today's story:
Build review part II: 1/48th scale O-2A (late production) USAF observation aircraft from ICM Models
The first part of the review covered the build of the model and in this second part I will be describing the finish. The cabin glazing was masked off during assembly as it was a lot easier to do it that way before adding the wing struts, also ICM do supply a template on the instructions for the masking but I just applied tape to the glazing and cut around it once the glazing was glued into place. Prior to painting the model was wiped down with IPA and rather than use a rattle-can on such a small model it was airbrushed with Tamiya LP-3 Matt Black.
The marking choice of this kit:
The choice I made was to go with the kit decals - so Ill make the U.S. Air Force s/n 68-11067, Forward Air Control aircraft. It served in Laos, in 1970.
I have to admit I'm really liking the range of lacquer paints from Tamiya as they seem to spray better than their acrylics . Next I used LP-34 for the overall airframe colour as it was a near-as-dammit match for me to FS36473. I sprayed it in a way that allowed the black undercoat to faintly show through and once done the wing and upper fuselage was masked off and sprayed with LP-4 White.
The anti-glare panel was then masked off and sprayed with LP-3 Matt Black and the fin tips sprayed with XF-3 (only because I didn't have the lacquer equivalent).
With the model painted it received a coat of X-22 Clear followed with an over-spray of Mr Colour Self Levelling Thinners (SLT) to prepare it for the decals and washes as the SLT seems to reconstitute the X-22 that leaves a really nice shiny surface.
Time to decal!
Applying the decals was the hardest part of the whole build as I find that although they are very thin, the ICM ones want to curl up into ball as soon as you try to get them off the backing paper, even with having the backing paper directly on the model. Also when applied they are very stubborn and do not slide around easily which was the case with the ones in this kit and I had to ask ICM for a replacement sheet as I managed to completely destroy a couple of decals. Case in point, one of the red circles for a fuelling point on the wing just seemed to dig into the varnish and would not budge and I had to resort to gently sanding it out, hence the requirement for a replacement decal sheet.

I have had issues before with the decals in ICM kits but after this experience I experimented with adding a couple of drops of washing-up liquid (dish soap) into the water and with using some spare decals from another build I was able to slide them around more easily. They still wanted to curl up but the fact I could move them around will give me a fighting chance of getting them on a model next time around.
Anyway moving on and with the varnish dry I applied a wash of Deep Grey from Mig's Panel Line Wash range all over the model.
To add a bit of contrast to the panel lines, a mix of sepia oil paint and Mig's Dark Brown Wash was then applied to the hinge lines of the control surfaces such as the flaps, elevators, ailerons and rudders.
Once dry the washes were cleaned off using a paper towel, streaked in the direction of air flow with further applications in various areas to increase the effect of fluid leaks. When I was satisfied with the finish the model was sprayed with Winsor and Newton matt varnish from their Galeria range and left alone for a couple of days to let the varnish cure.
The final bits were then painted such as the aerials, tyres and rocket pods with the propellers first sprayed with Tamiya AS-12 then coated with AK Interactive Worn Effects fluid.
The black paint was then chipped off using an old paint brush and warm water.
With the model now fully dried the final details were added using EZ line for the aerial cable between the port fin and upper wing and black HSS (Heat Stretched Sprue) for the whip aerial on the top of the fuselage. The covers for the landing lights on the wing leading edges, wheels, rocket pods were glued into place, the anti-static strips on the trailing edges of the fins were cut off and replaced with fine copper wire and painted and that was it!
The verdict: 1/48th scale O-2A (late production) USAF observation aircraft from ICM Models
No kit is ever perfect but apart from a couple of fit issues and the decals this was an enjoyable build and it's about time that we had a decent 1/48 model of this type as the only available one previously was the very old Testors kit. 


We've had both early and late O-2A's now so it wouldn't really surprise me if a PsyOps (Psychological Warfare Operations) 'Bullsh*t Bomber' is next on the cards as the all-over black scheme looks quite menacing. We can only hope!
Andy King
Thanks to ICM Models for sending this to Andy to build and review for you...