Today Andy Moore's Resin Scales Object 703 II kit is on the bench. With his unique way of adding detail & enhancing an already lovely kit, it is a treat to see how his approach works in Pt II of his review...
Build review: Soviet Object 703 Version II
Manufacturer – Resin Scales
Kit Number – RSOBJ703
1/35th Scale
Price – US$160 from Resin Scales
Product Link on the Resin Scales Website
Previous Parts of this story:
Today:
Build review: 1/35th scale Soviet Object 703 Version II from Resin Scales - Adding detail before the paint

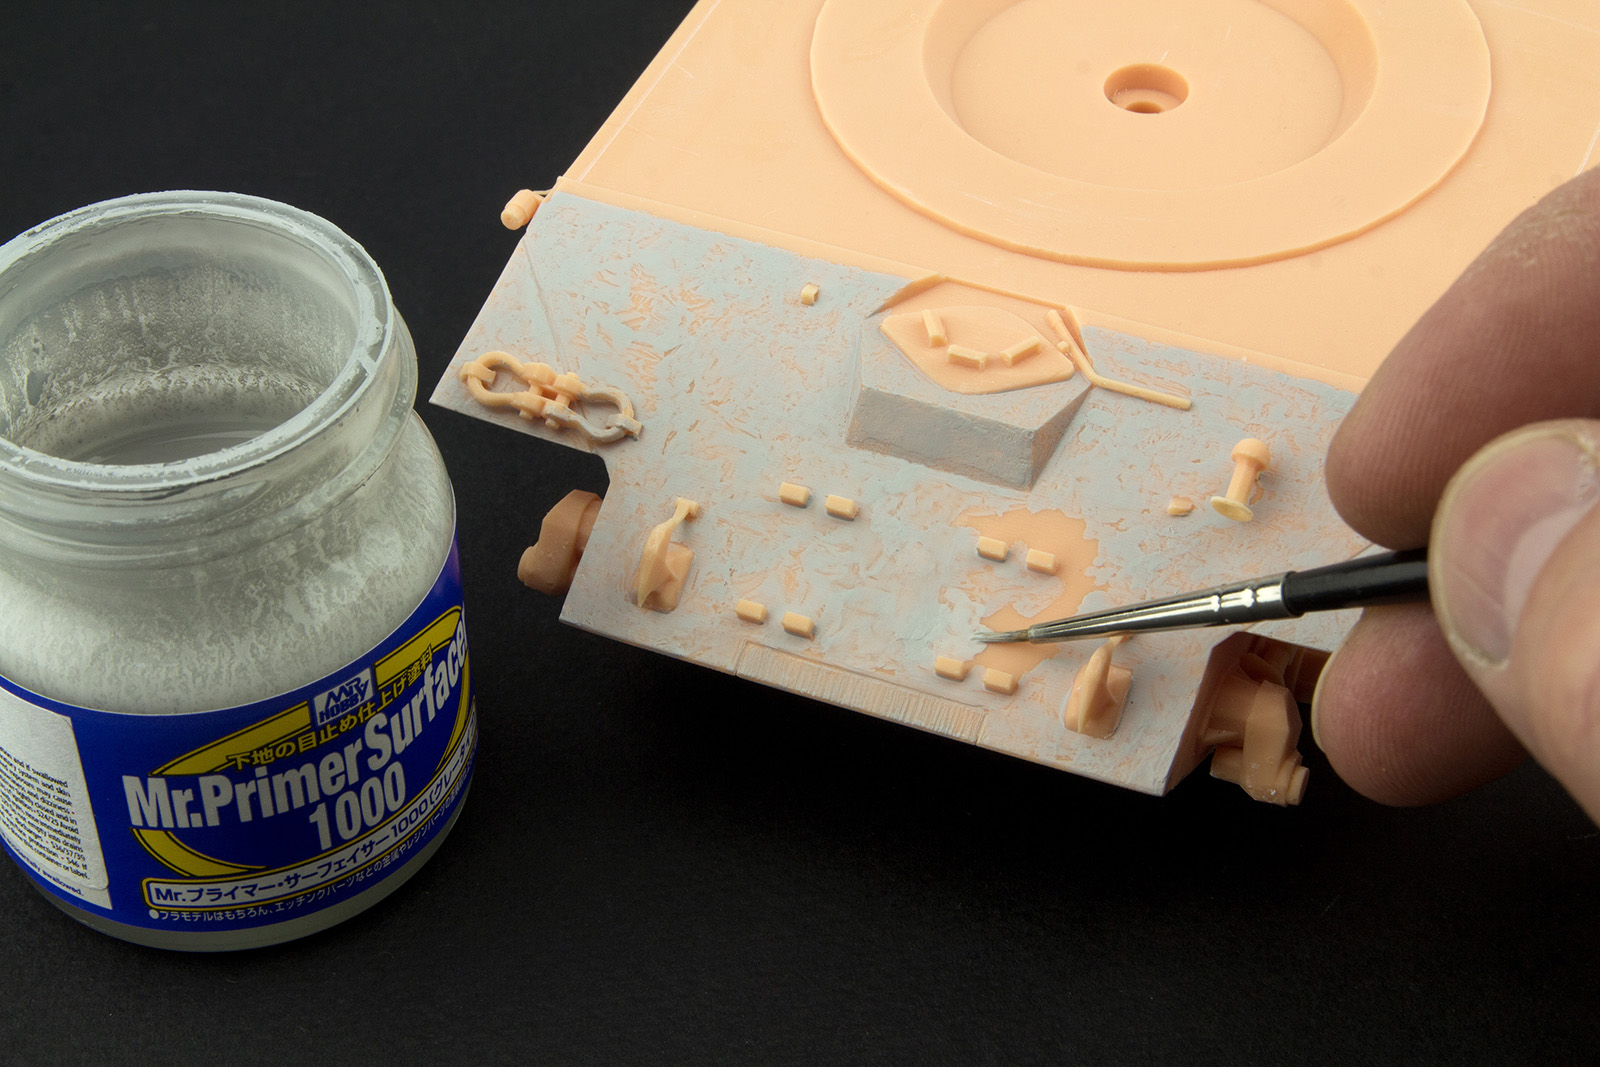
The armour plate on the hull was textured with Mr Surfacer 1000 brushed on in an irregular fashion. Once dry, any rough or over-textured areas were lightly sanded back, as the texture on armour plate shouldn't be too strong. A torch-cut effect was also added to the interlocking ends of the armour plates by scratching vertical grooves onto the surface with the tip of a needle file.
World of Tanks features skins that can be applied to tanks to customise their look, ranging from simple camo patterns to surface embellishments that can radically change the look of the vehicle. I found some screenshots of an Object 703 VII featuring a skin that peppered the hull and turret with shell impacts, and thought it would be fun to add a little of this to the model.
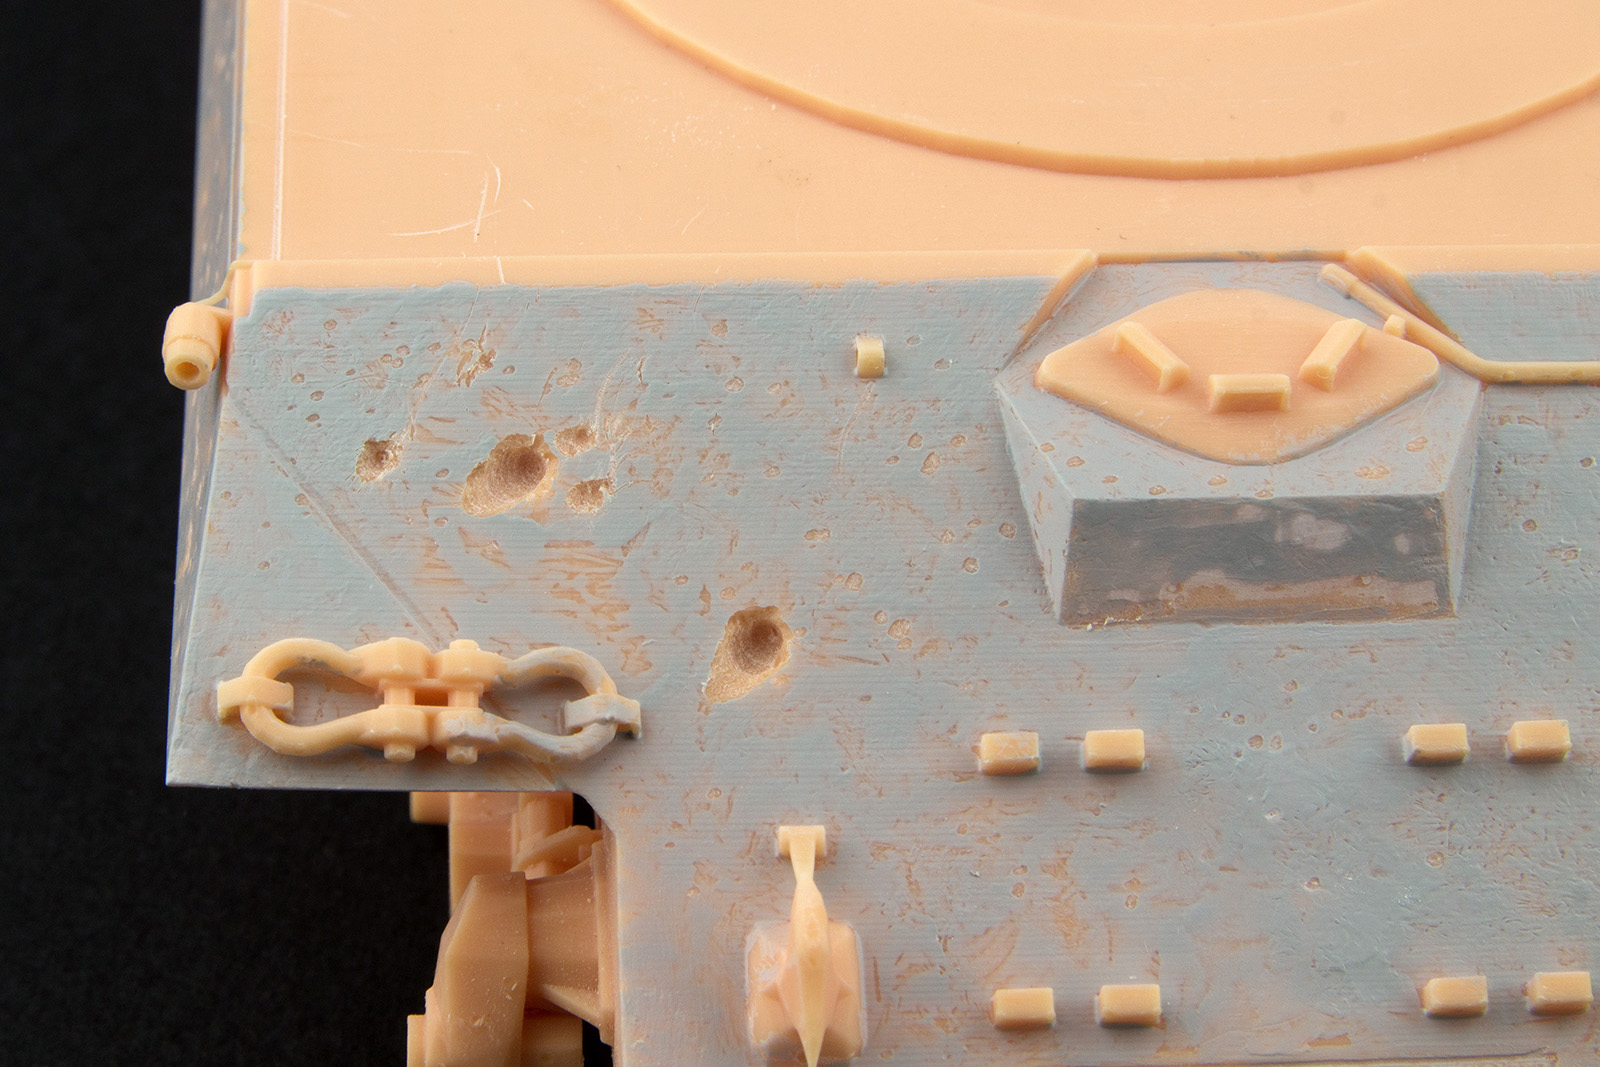
I didn't want to take the shell damage to quite the extent of the game skin, so I elected to restrict the impact marks to the glacis plate. Shell impacts are fairly easy to add by simply drilling into the surface with an appropriately sized drill bit. Just remember to drill the hole at the correct angle – most shells will impact on or around the horizontal plane. The resin here was thick enough to drill the holes to the correct depth, but on a regular kit you may need to built up the back of the panel you're drilling with styrene sheet.
The holes were then filled with a small quantity of Green Stuff epoxy putty. A pencil tip was inserted into the putty and lightly rotated to leave a smooth shell-shaped crater, at the same time pushing the excess putty out of the hole to leave an irregular rim around the edge.
Like most of the surface details, the headlight and horn are printed as part of the main hull. The detail on the horn is actually very good, but the light was a little simplified, with just a flat face. The 3D model in the game features a slit cover on the light, so I added one here from a disc of styrene, and also added the cable with some copper wire.
One of the few details that has been printed separately is the gun support. This slots into the hinges on the rear hull and will need two short pins cutting from suitable gauge wire to hold it in place. Once the wire pins were pushed into place, I capped the ends off with bolt heads. The gun support does remain poseable, which is handy when it comes to painting, but you won't be able to use it to actually hold the gun without some modification, as only one of the two clamp pieces is a separate part.

The supports for the screens were made from short lengths of wire glued into holes drilled into the surface of the model. I left the screens unattached at this stage, as it would be difficult to paint behind them if they were in place.
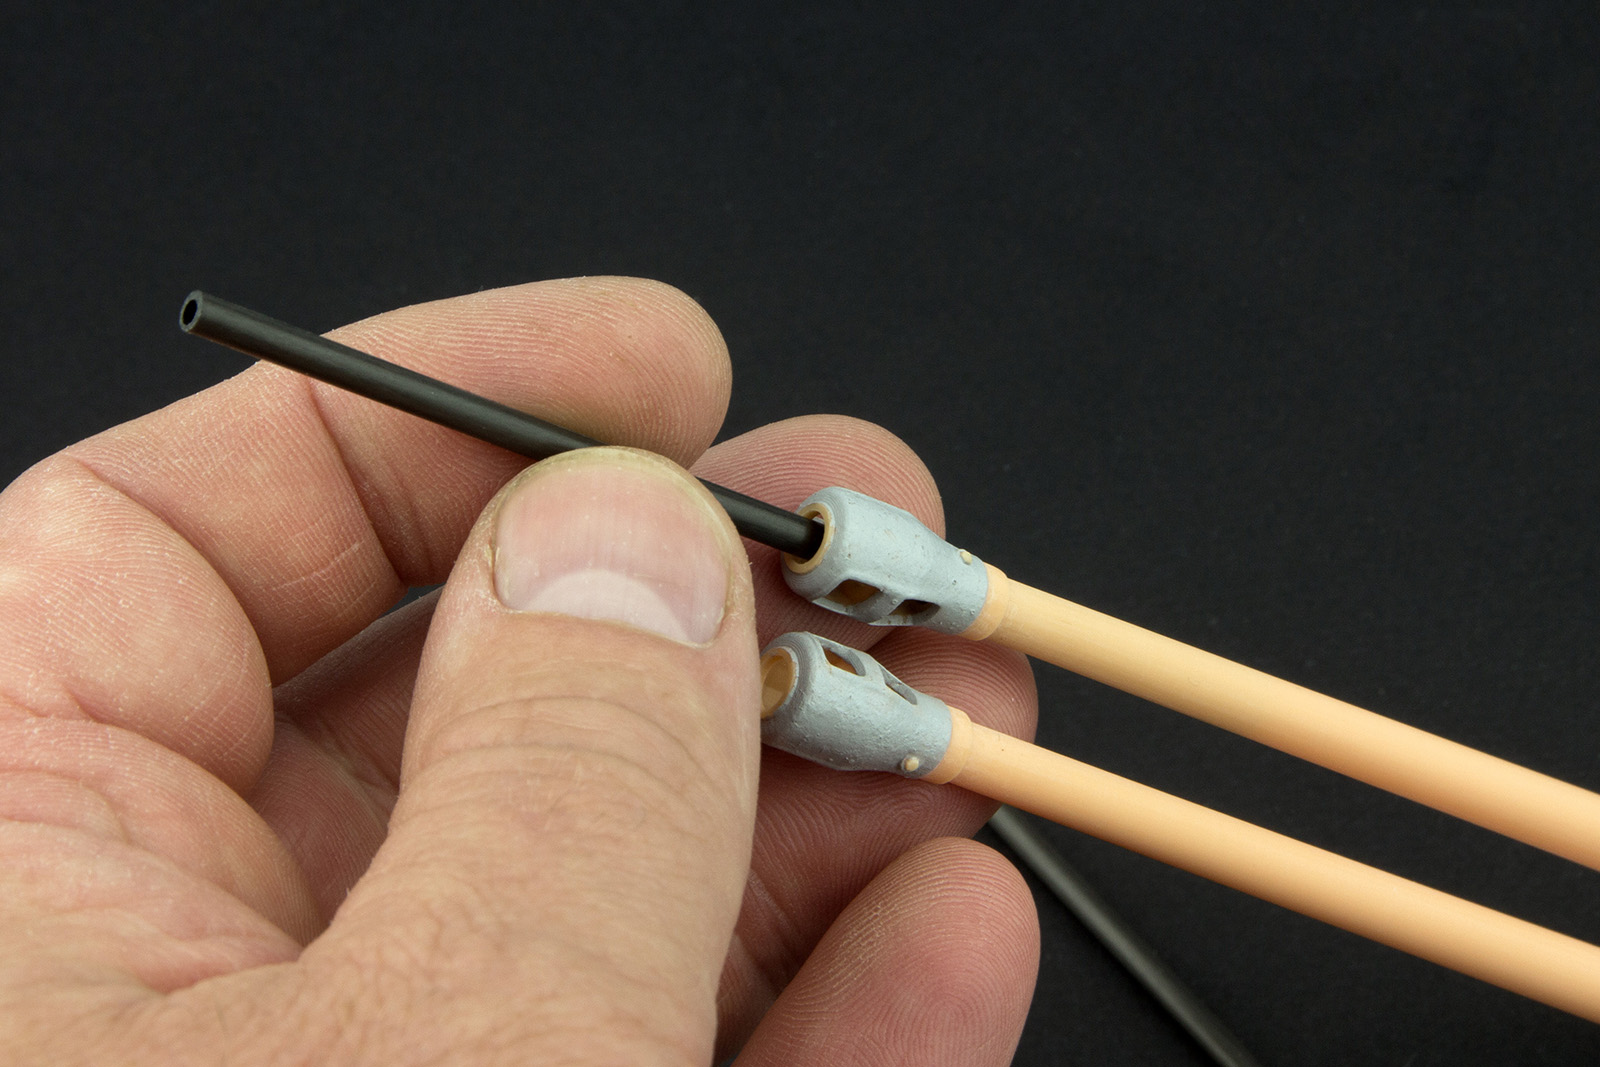
Resin Scales have provided two rigid tubes that can be slid into the barrels (which are hollow for their full length) to provide additional support. The tubes slide in very easily, and I added a little PVA to their ends before inserting them to ensure they remained in place.
The twin barrels are then mounted to the turret and held in place with a metal rod which inserts through a hole in the turret side, passes through the back of the mantlet and into a corresponding hole on the opposite side of the turret. The supplied rod is a little too long and will need trimming, but otherwise does a very good job of holding the barrels in place. The fixture has enough friction to keep the barrels poseable without flopping back down. Once the rod was in place, I filled over the holes on the turret sides with putty. At this point, the whole turret had been given a rough cast texture with Mr Surfacer 500.


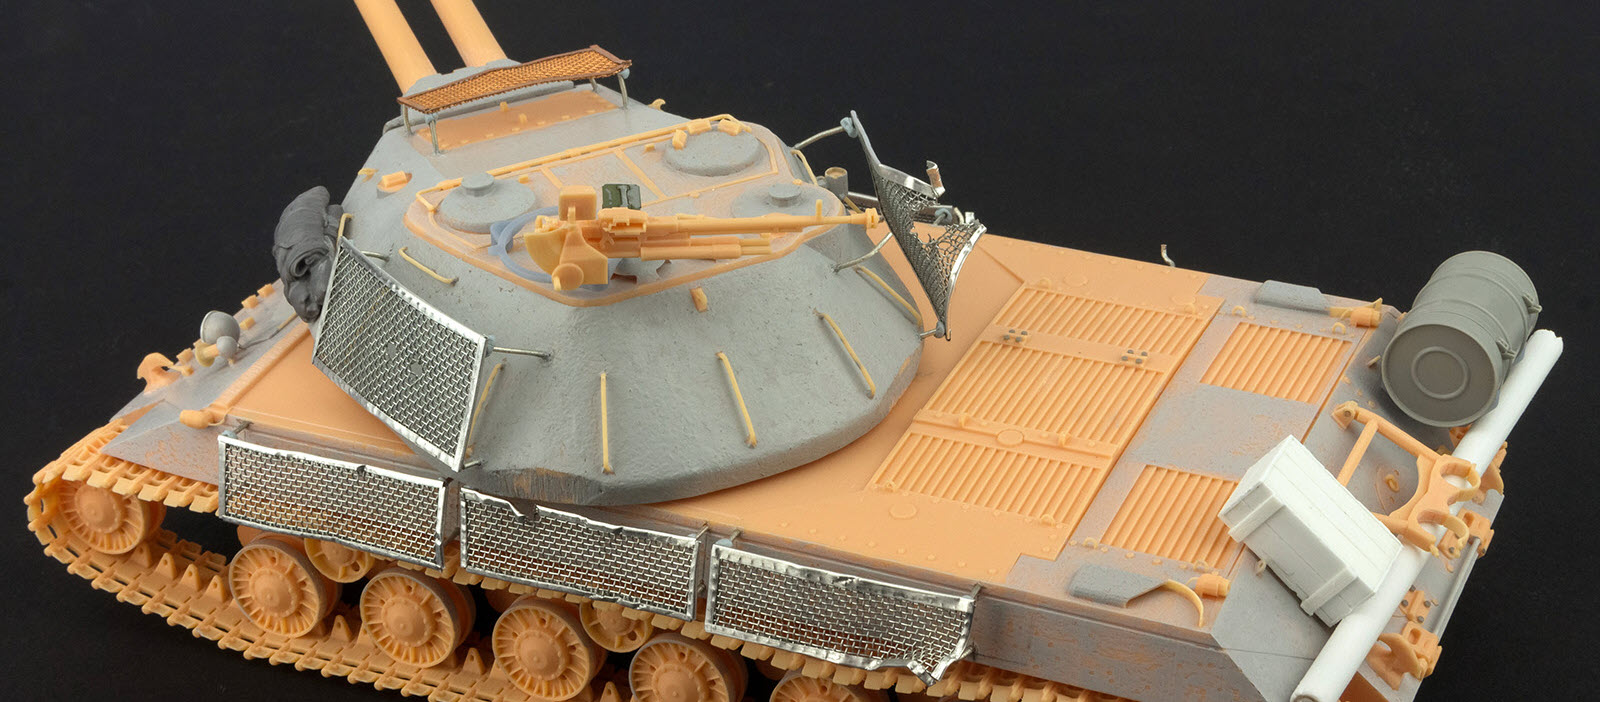
That's the build essentially done, but I wanted to add a couple of final details, again to match the screen grabs from the game. Some stowage in the form of a wooden crate and an unditching beam were scratch built from styrene, and a fuel tank was sourced from the spares box. I didn't have any mounting brackets for the fuel tank though, so again Fusion 360 was used to design the parts, which were then printed.
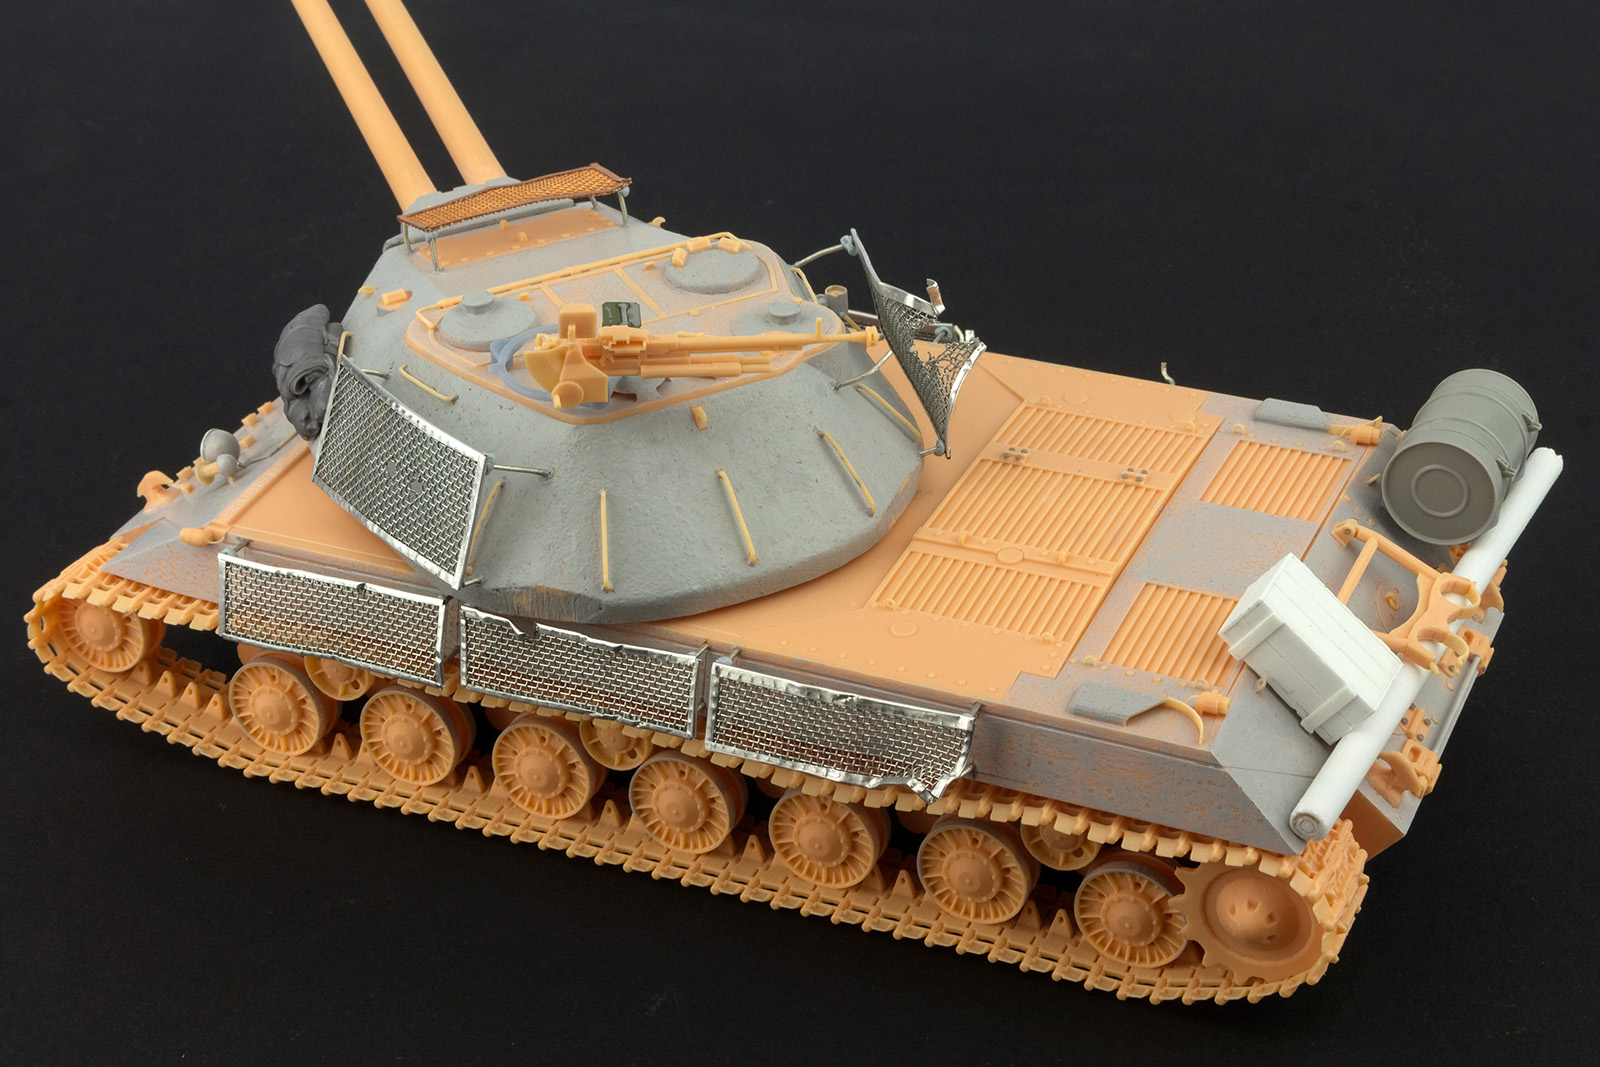
We'll leave the build here for today, before getting on to the painting and weathering in the final part of the review. In the meantime, I'll leave you with a couple of shots of the model built up with the extras in place.
Here it is ready for the next step in the journey...

.jpg)